DIY “Snow” Globe
Reuse a favorite small toy to make a glorious, tiny world of your own.
Look around your home - how can you make “snow?”
Materials
Jar and lid
Small toy
Glue
Spoon
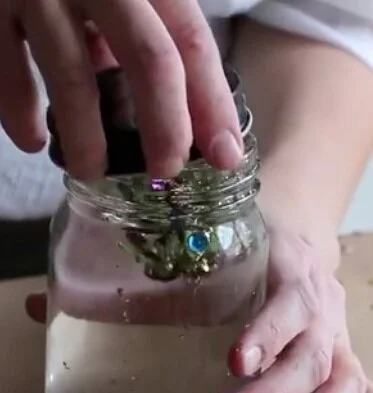
“Snow”: glitter, sequins, tiny pieces of foil, small beads, flower petals, sand, or rice
Water
Optional: clear Elmer’s glue, glycerin, or corn syrup (to help the items float in the water)
Instructions


Optional: To help the “snow” float, add a few drops of glycerin or corn syrup, or a big squeeze of clear Elmer’s glue to the water & stir again.
4. When the glue has dried on the toy & lid, put a little glue on the inside rim of the lid.
5. Screw the lid on the jar.
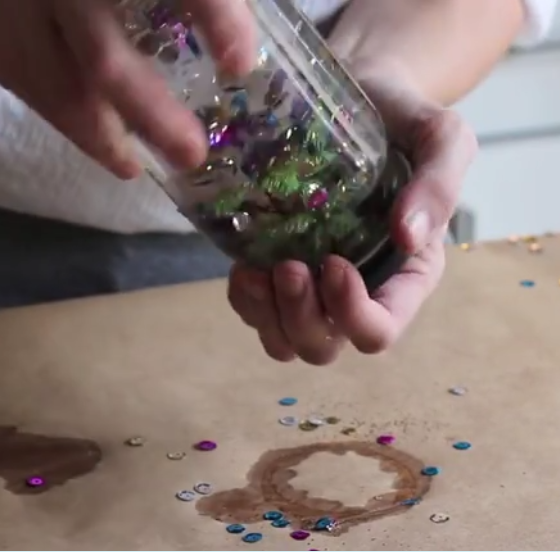
6. Shake the jar to let it “snow!”

cool fact
One of the first snow globes was created in 1900 by Erwin Perzy, an Austrian surgical instruments mechanic, while he was trying to make a brighter light bulb!
Electric light bulbs had just been invented and were not very bright. Perzy was inspired by shoemakers, who put a glass globe filled with water in front of the candle flame to get more light.
Science and art come together again!
